About WebdriverAgent
Webdriver agent (WDA) is an open-source project used for iOS automation testing by Appium. This project is responsible for actions ie. clicking, swiping, tapping. Initially started by Facebook (Github link), the project has been archived, and now the Appium team continues development in a new repo. We strongly recommend both installing WebDriverAgent manually before iOS testing and Appium WDA configuration. That is why Appium will attempt to install its own WDA inside node modules appium-xcuitest-driver/node_modules/appium-webdriveragent. So that, you have to configure WDA (the same steps of manual configuration) inside of Appium before testing.
How to Install WDA
Firstly, download the WDA Release package.
NOTE: Do not clone the repo. Sometimes, pre-release commits cause the unexpected behavior during testing.
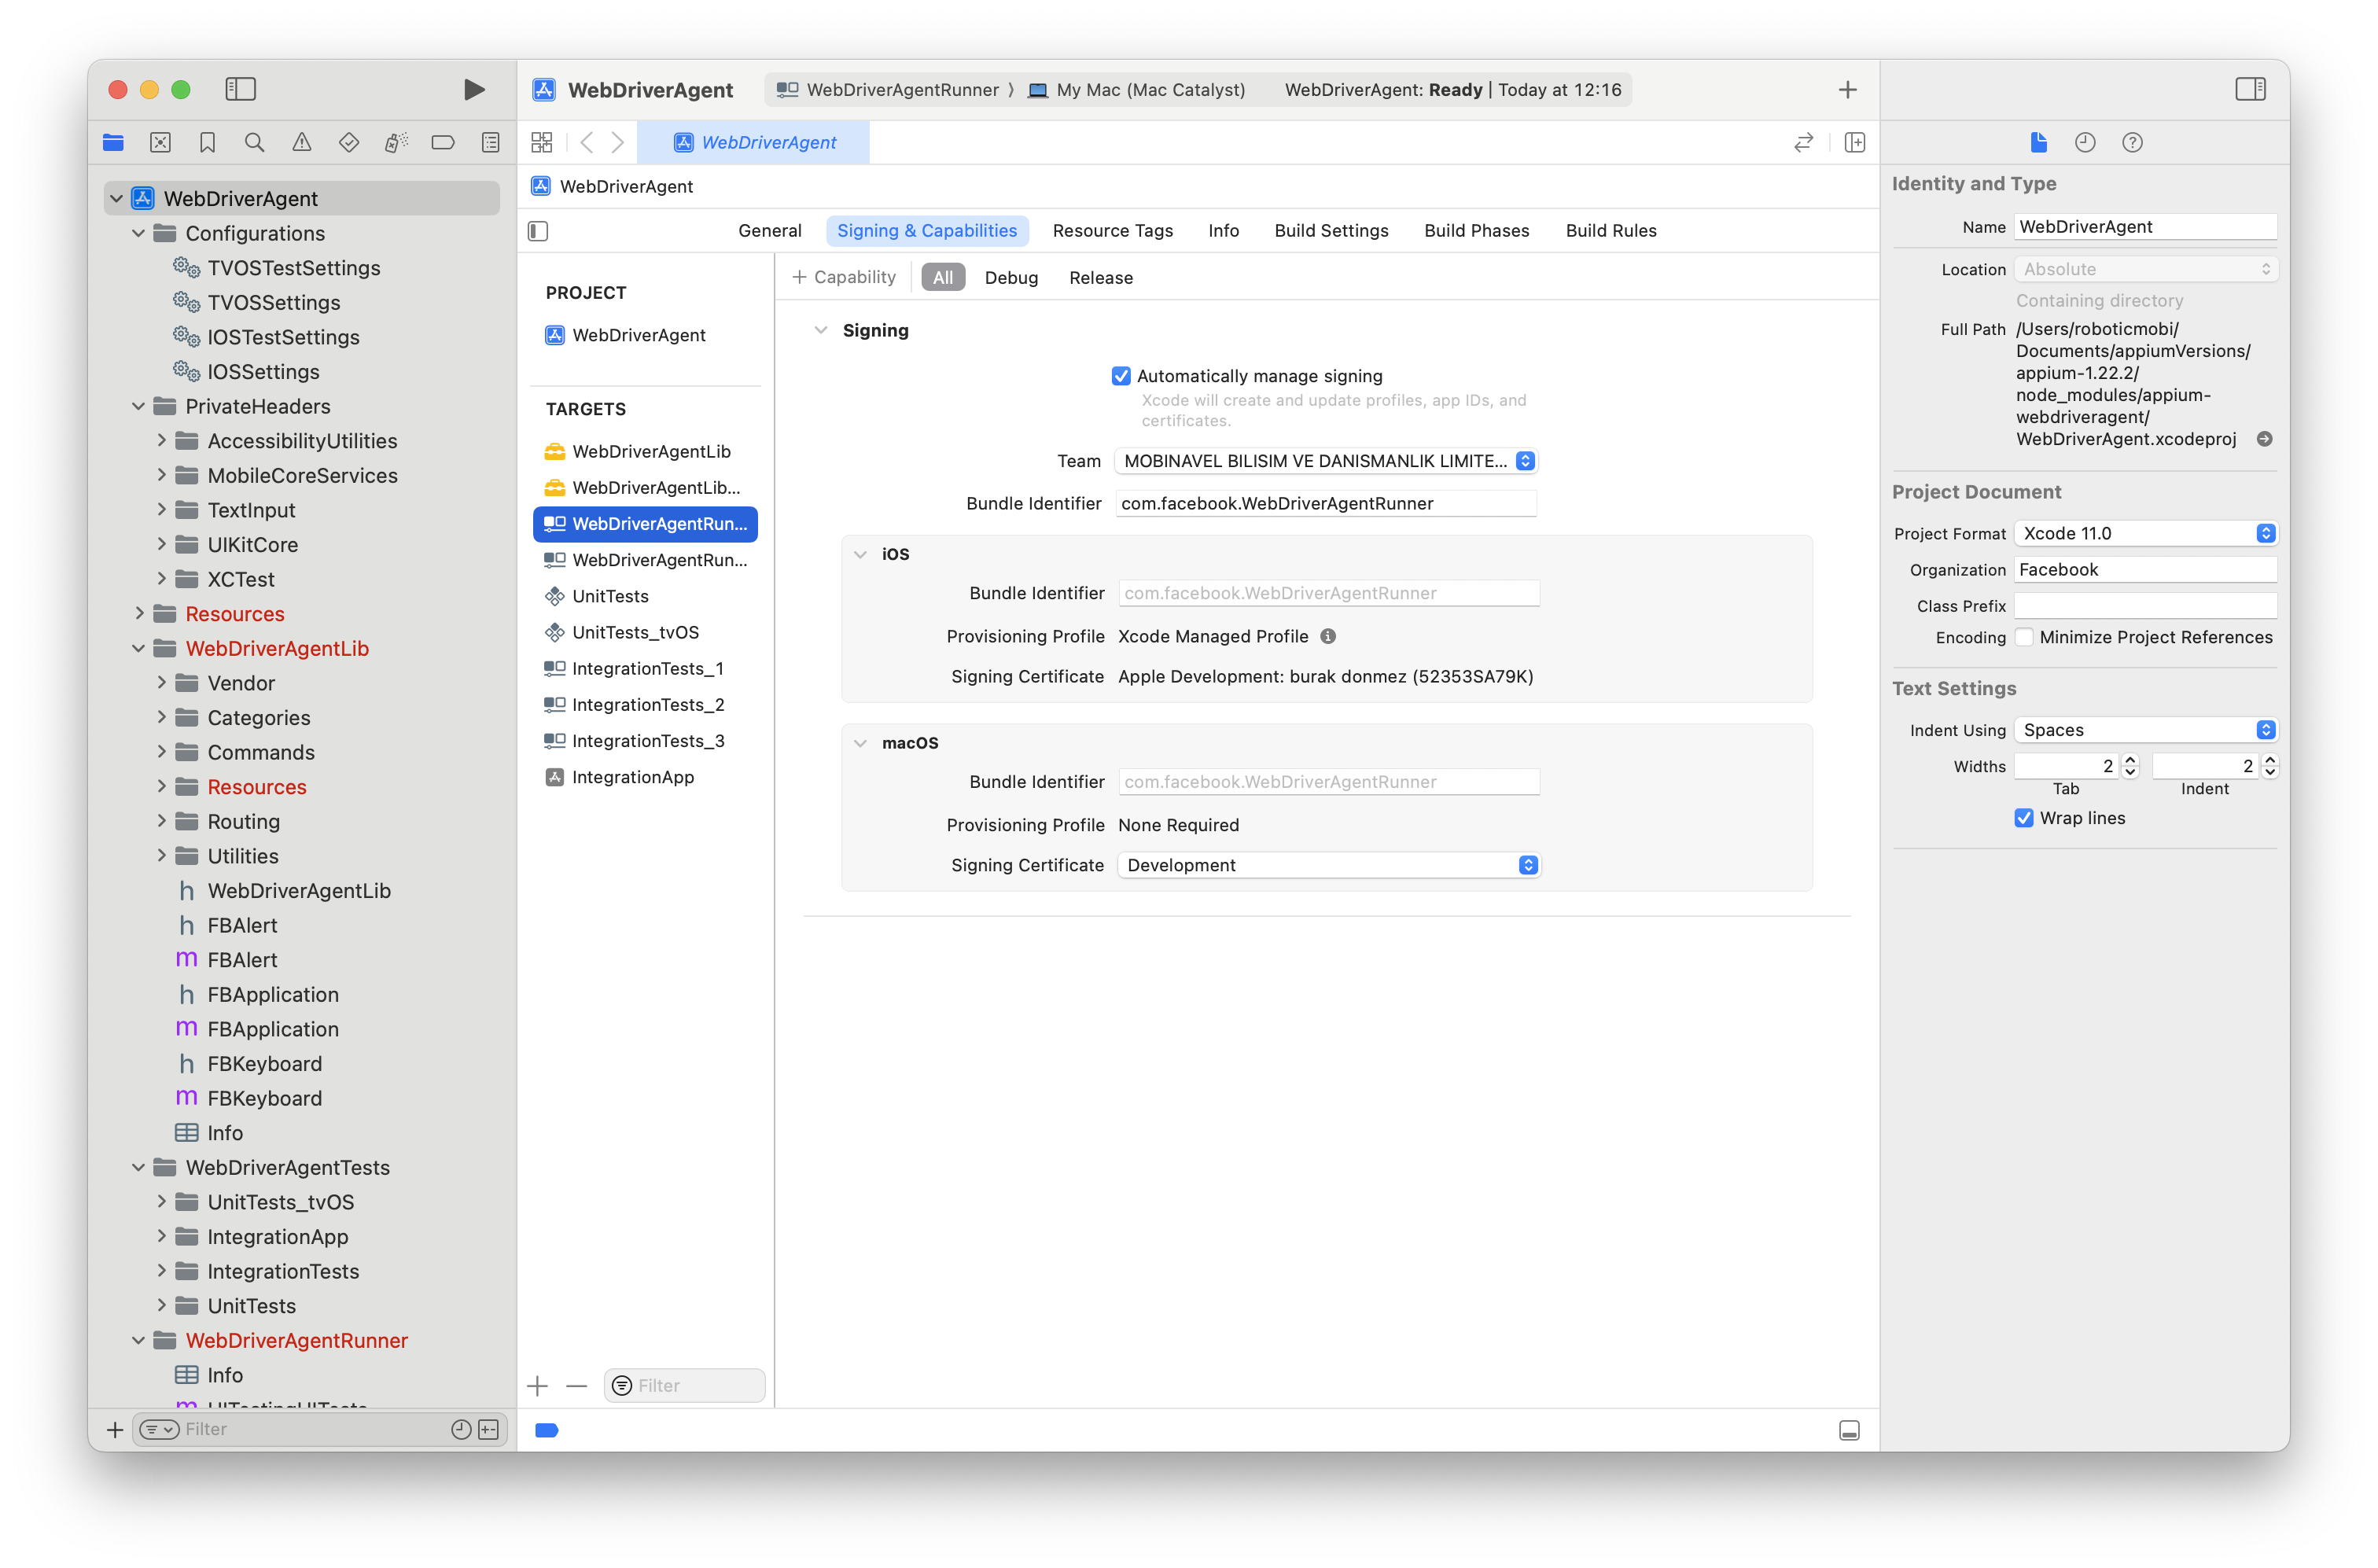
After that, firstly we have to configure "Signing & Capabilities" of WebDriverAgentRunner and WebDriverAgentLib targets. Select your Team signing option and build the WebDriverAgentRunner project: Product-->Build For-->Testing.

Building WDA can be stressful and challenging. If you encounter any issues, please contact us, and we will share a blog about it.
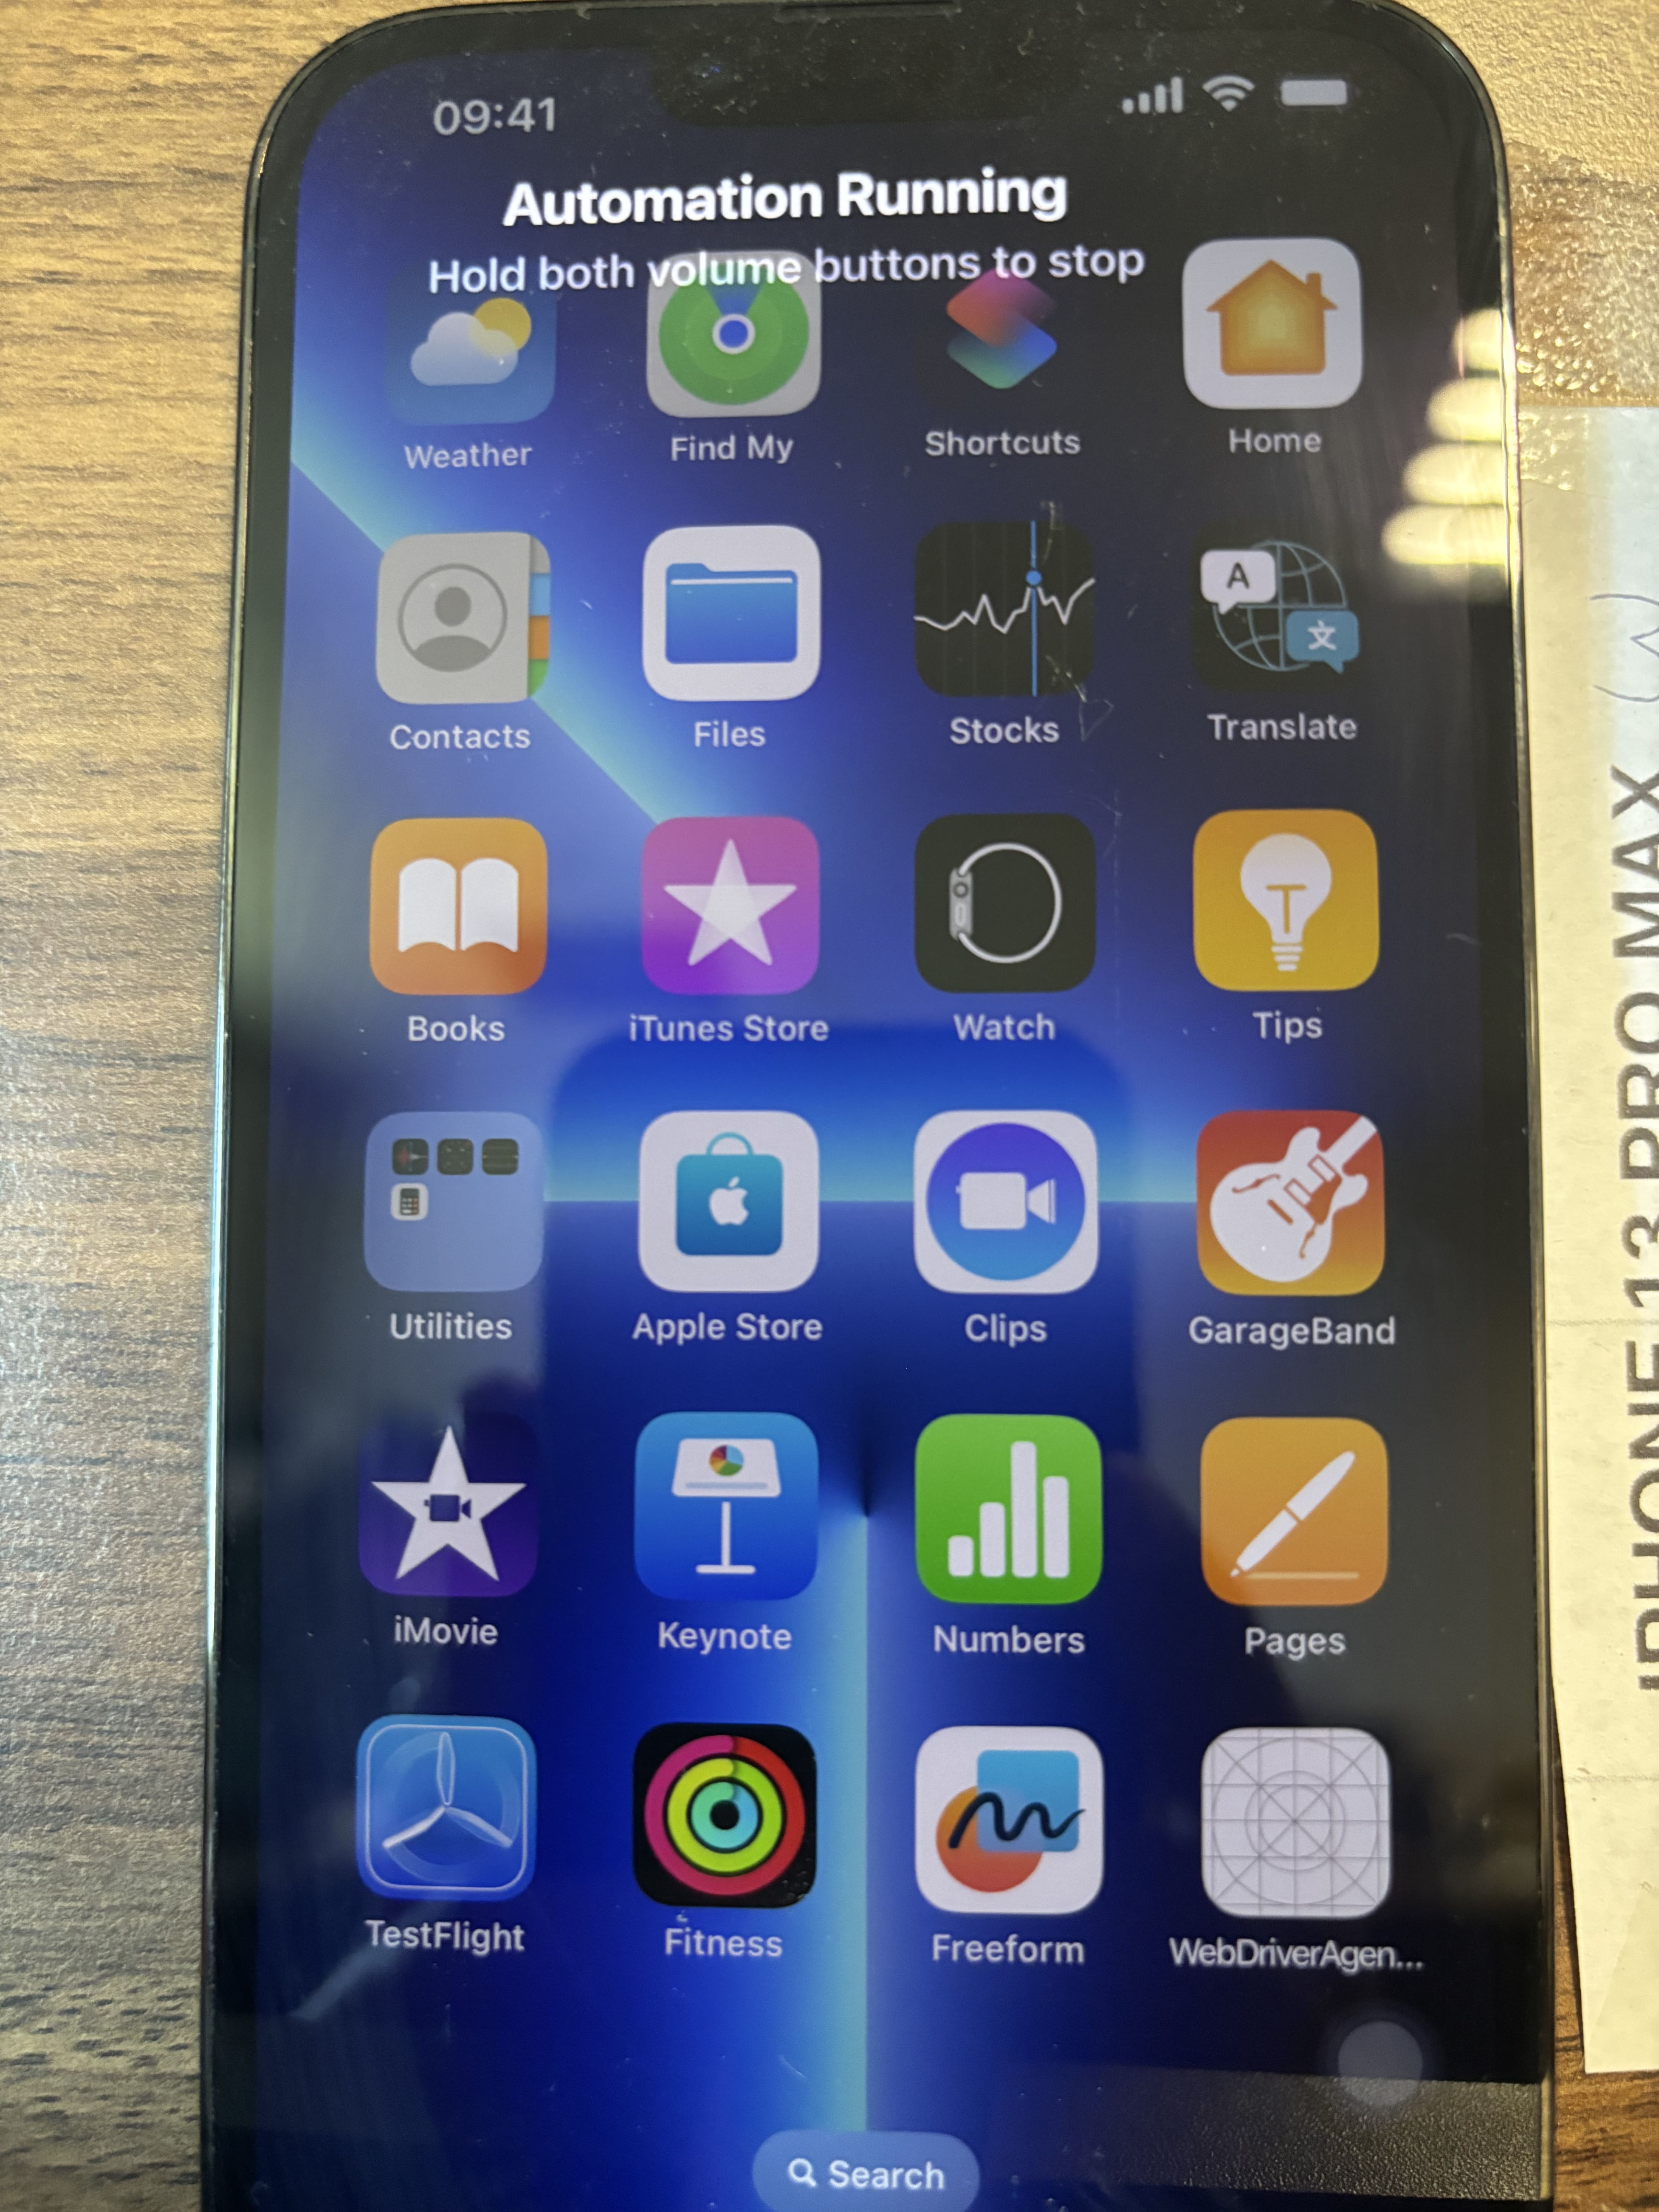
Once the project build is finished, install WDA on your device. To install WDA, go to Product-->Perform Action-->Test Without Building option. This will install WDA to your device and start WDA server (default port is: 8100). You will see the "Automation Running" interface on your device screen, indicating that you have successfully configured and installed WDA on your phone. Do not forget to follow the same steps for Appium WDA appium-xcuitest-driver/node_modules/appium-webdriveragent. Now you are ready for Appium iOS testing.
Happy Testing