 In the evolving landscape of mobile test automation, integrating powerful tools to streamline testing processes is paramount. UiPath, known for its robust capabilities in robotic process automation (RPA), can be effectively combined with Appium, an open-source tool for automating mobile applications, to enhance testing efficiency and accuracy. In this blog, we'll explore how to achieve seamless integration between UiPath and Appium, and discuss the benefits and steps involved in setting up this powerful combination.
Why Integrate UiPath with Appium?
Before diving into the integration process, let's understand why combining UiPath and Appium can be a game-changer for mobile test automation.- Enhanced Automation Capabilities: UiPath's extensive automation capabilities, combined with Appium's mobile-specific features, create a comprehensive testing framework.
- Cross-Platform Testing: Appium supports both Android and iOS, allowing UiPath to extend its automation reach across different mobile platforms.
- Improved Test Coverage: Automating repetitive tasks and complex scenarios increases test coverage and ensures more thorough testing.
- Ease of Use: UiPath’s user-friendly interface and drag-and-drop functionality simplify the automation process, making it accessible even to those with limited coding experience.
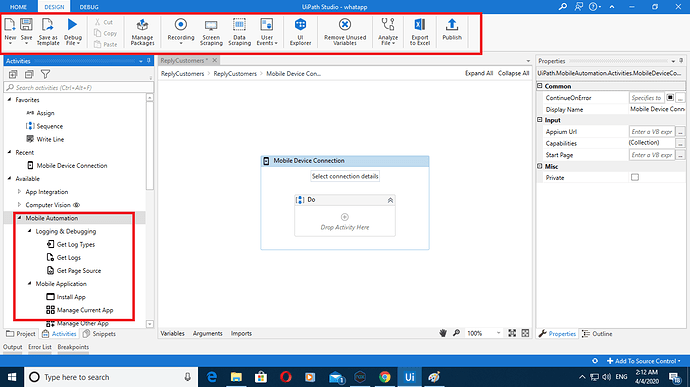
Setting Up the Integration
Note that: RobotQA supports UiPath integration Appium. You can write you UiPath test using RobotQA integration and run your tests on real devices.
Documentation link. Need testing? – Try RobotQA and Start Testing on Real Devices. Start Free Trial
Prerequisites:
Before starting the integration, ensure you have the following:- UiPath Studio: Installed on your machine.
- Appium Server: Installed and configured.
- Java Development Kit (JDK): Required for running Appium.
- Android SDK: For managing Android devices and emulators.
- Node.js: For installing Appium.
Step-by-Step Integration
- Install and Configure Appium
- Install Appium via Node.js using the following command:
1npm install -g appium
- Start the Appium server from the command line:
1appium
- Install Appium via Node.js using the following command:
- Set Up Android Emulator or Connect a Real Device
- Ensure you have an Android emulator set up through the Android SDK, or connect a real device with USB debugging enabled.
- Configure UiPath Project
- Open UiPath Studio and create a new project.
- Install the Appium.UiPath package from the UiPath package manager to enable Appium activities within UiPath.
- Create Appium Session in UiPath
- Add a new sequence in your UiPath project.
- Drag and drop the Start Appium Server activity to initiate the Appium server.
- Configure the server settings, such as the server address and port.
- Define Desired Capabilities
- Add the Create Session activity and define the desired capabilities for your mobile device or emulator. This includes parameters like
platformName,deviceName,app, andautomationName.12345{ "platformName": "Android","deviceName": "emulator-5554","app": "/path/to/your/app.apk","automationName": "UiAutomator2"}
- Add the Create Session activity and define the desired capabilities for your mobile device or emulator. This includes parameters like
- Perform Mobile Actions
- Use Appium activities available in UiPath, such as Click, Type Into, and Find Element, to interact with the mobile application.
- For example, to click a button, drag the Click activity and specify the element using its XPath or other selectors.
- Close Appium Session
- Once the testing steps are completed, ensure to close the Appium session using the Close Session activity.
- Stop the Appium server with the Stop Appium Server activity.
Example Workflow
Here’s a simple example of a UiPath workflow integrated with Appium:- Start Appium Server:
- Server Address:
http://127.0.0.1 - Port:
4723
- Server Address:
- Create Session:
- Desired Capabilities:
12345{ "platformName": "Android","deviceName": "emulator-5554","app": "/path/to/your/app.apk","automationName": "UiAutomator2"}
- Desired Capabilities:
- Perform Actions:
-
- Click on login button:
- XPath:
//android.widget.Button[@content-desc='Login']
- XPath:
- Type Into username field:
- XPath:
//android.widget.EditText[@content-desc='Username'] - Text:
testuser
- XPath:
- Click on login button:
-
- Close Session:
- No parameters required.
- Stop Appium Server:
- No parameters required.