 When building user interfaces (UI) in Android, achieving the right balance and alignment of elements is crucial. One of the most powerful tools for distributing space among elements in a
 LinearLayout is the layout_weight attribute. This blog will guide you through the concept of layout_weight, how to use it effectively, and provide an example to illustrate its application in Android design.
What is layout_weight?
The layout_weight attribute is used in LinearLayout to distribute space among child views. By assigning weight values to child views, you can control how much of the available space each view should occupy relative to others.
Key Concepts of layout_weight
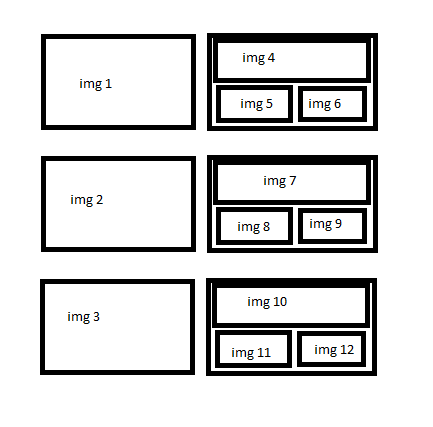
- LinearLayout Orientation:
layout_weightworks differently depending on whether theLinearLayoutis horizontal or vertical. - Proportional Distribution: Views with higher weight values will occupy more space compared to views with lower weight values.
- Zero or Non-zero Dimensions: Setting a view’s dimension (width or height) to
0dpallows the weight to define its size.
How to Use layout_weight
Step-by-Step Guide
- Define a LinearLayout: Start with creating a
LinearLayoutin your XML layout file. - Set Orientation: Decide the orientation (vertical or horizontal) based on your design needs.
- Assign Weights: Use the
android:layout_weightattribute to assign weight values to child views.
Example: Implementing layout_weight
Let's create a simple layout with three buttons that share the screen space evenly.
- Create a New Project: Open Android Studio and create a new project.
- Open XML Layout File: Navigate to
res/layout/activity_main.xml. - Define LinearLayout with Weights:
1234567891011121314151617181920212223242526272829<LinearLayoutxmlns:android="http://schemas.android.com/apk/res/android"android:layout_width="match_parent"android:layout_height="match_parent"android:orientation="horizontal"android:padding="16dp"><Buttonandroid:layout_width="0dp"android:layout_height="wrap_content"android:layout_weight="1"android:text="Button 1"android:layout_margin="8dp"/><Buttonandroid:layout_width="0dp"android:layout_height="wrap_content"android:layout_weight="1"android:text="Button 2"android:layout_margin="8dp"/><Buttonandroid:layout_width="0dp"android:layout_height="wrap_content"android:layout_weight="1"android:text="Button 3"android:layout_margin="8dp"/></LinearLayout>
- The
LinearLayoutis set tohorizontalorientation. - Each
Buttonhas alayout_widthof0dp, meaning their widths are determined by the weight. - Each
Buttonhas alayout_weightof1, so they will equally divide the available horizontal space.
Need Debugging? – Try RobotQA and Start Debugging on Real Devices. Download Plugin
Advanced Usage: Unequal Distribution
If you want the buttons to occupy different amounts of space, you can assign different weight values.|
1 2 3 4 5 6 7 8 9 10 11 12 13 14 15 16 17 18 19 20 21 22 23 24 25 26 27 28 29 |
<LinearLayout xmlns:android="http://schemas.android.com/apk/res/android" android:layout_width="match_parent" android:layout_height="match_parent" android:orientation="horizontal" android:padding="16dp"> <Button android:layout_width="0dp" android:layout_height="wrap_content" android:layout_weight="1" android:text="Button 1" android:layout_margin="8dp"/> <Button android:layout_width="0dp" android:layout_height="wrap_content" android:layout_weight="2" android:text="Button 2" android:layout_margin="8dp"/> <Button android:layout_width="0dp" android:layout_height="wrap_content" android:layout_weight="3" android:text="Button 3" android:layout_margin="8dp"/> </LinearLayout> |
Button 1has a weight of1.Button 2has a weight of2.Button 3has a weight of3.
Button 3 will be twice as wide as Button 1 and 1.5 times wider than Button 2.
Best Practices
- Minimal Usage: Avoid using weights for every view in complex layouts as it can lead to performance issues.
- Combine with Fixed Dimensions: Use fixed dimensions where appropriate to ensure consistency across different screen sizes and resolutions.
- Testing on Different Devices: Always test your layout on multiple devices to ensure it looks as intended across various screen sizes.
Conclusion
Usinglayout_weight in LinearLayout is a powerful way to create flexible and responsive UIs in Android. By understanding how to distribute space proportionally among child views, you can design interfaces that adapt seamlessly to different screen sizes and orientations. Experiment with different weights and combinations to see what works best for your design needs. Happy coding!