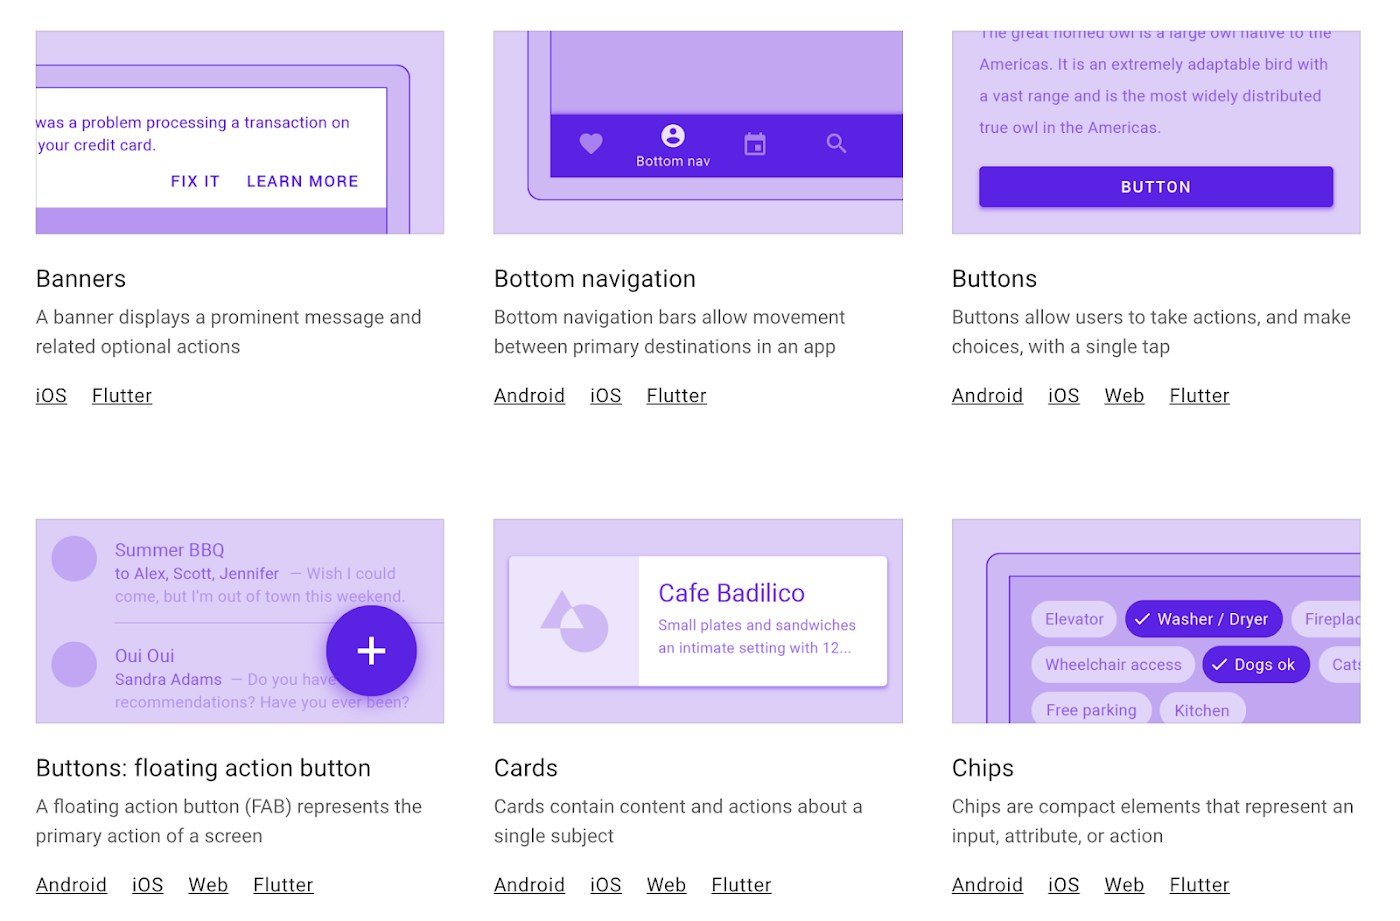
 Material Components for Android (MDC-Android) is a comprehensive library that helps developers implement Google's Material Design in Android applications. Using Material Components, you can create beautiful, responsive, and consistent UIs that follow the latest design guidelines. In this blog, we'll walk through a simple example of how to use Material Components to build a modern UI.
Setting Up Material Components
Before diving into the code, ensure you have the MDC-Android library set up in your project.- Add the dependency to your
build.gradlefile: - Sync the project to download the necessary dependencies.
|
1 2 3 |
dependencies { implementation 'com.google.android.material:material:1.8.0' } |
Example: Creating a Login Screen
Let's create a modern login screen using Material Components. This screen will include:- A
TextInputLayoutfor the email and password fields. - A
MaterialButtonfor the login action. - A
TextViewfor a forgot password link.
Step 1: Define the Layout
Create an XML layout file (activity_main.xml) with the following content:
|
1 2 3 4 5 6 7 8 9 10 11 12 13 14 15 16 17 18 19 20 21 22 23 24 25 26 27 28 29 30 31 32 33 34 35 36 37 38 39 40 41 42 43 44 45 46 47 48 49 50 51 52 53 54 55 56 57 58 59 60 |
<RelativeLayout xmlns:android="http://schemas.android.com/apk/res/android" xmlns:app="http://schemas.android.com/apk/res-auto" android:layout_width="match_parent" android:layout_height="match_parent" android:padding="16dp" android:background="?android:attr/windowBackground"> <com.google.android.material.textfield.TextInputLayout android:id="@+id/emailTextInputLayout" android:layout_width="match_parent" android:layout_height="wrap_content" android:layout_marginBottom="16dp" app:boxStrokeColor="@color/colorPrimary"> <com.google.android.material.textfield.TextInputEditText android:id="@+id/emailEditText" android:layout_width="match_parent" android:layout_height="wrap_content" android:hint="Email" android:inputType="textEmailAddress"/> </com.google.android.material.textfield.TextInputLayout> <com.google.android.material.textfield.TextInputLayout android:id="@+id/passwordTextInputLayout" android:layout_width="match_parent" android:layout_height="wrap_content" android:layout_below="@id/emailTextInputLayout" android:layout_marginBottom="24dp" app:boxStrokeColor="@color/colorPrimary"> <com.google.android.material.textfield.TextInputEditText android:id="@+id/passwordEditText" android:layout_width="match_parent" android:layout_height="wrap_content" android:hint="Password" android:inputType="textPassword"/> </com.google.android.material.textfield.TextInputLayout> <com.google.android.material.button.MaterialButton android:id="@+id/loginButton" android:layout_width="match_parent" android:layout_height="wrap_content" android:layout_below="@id/passwordTextInputLayout" android:backgroundTint="@color/colorPrimary" android:text="Login" android:textColor="@android:color/white"/> <TextView android:id="@+id/forgotPasswordTextView" android:layout_width="wrap_content" android:layout_height="wrap_content" android:layout_below="@id/loginButton" android:layout_marginTop="16dp" android:layout_centerHorizontal="true" android:text="Forgot password?" android:textColor="@color/colorPrimary" android:textStyle="bold"/> </RelativeLayout> |
Step 2: Styling
Ensure you have defined the colors in yourres/values/colors.xml file:
|
1 2 3 4 5 |
<resources> <color name="colorPrimary">#6200EE</color> <color name="colorPrimaryDark">#3700B3</color> <color name="colorAccent">#03DAC5</color> </resources> |
Step 3: Initialize in Activity
In yourMainActivity.java or MainActivity.kt file, initialize the views:
|
1 2 3 4 5 6 7 8 9 10 11 12 13 14 15 16 17 18 19 20 21 22 23 24 25 26 27 28 29 30 31 32 33 34 35 36 37 38 39 40 41 |
package com.example.materialcomponents; import android.os.Bundle; import androidx.appcompat.app.AppCompatActivity; import com.google.android.material.textfield.TextInputLayout; import com.google.android.material.textfield.TextInputEditText; import com.google.android.material.button.MaterialButton; import android.widget.TextView; import android.widget.Toast; public class MainActivity extends AppCompatActivity { @Override protected void onCreate(Bundle savedInstanceState) { super.onCreate(savedInstanceState); setContentView(R.layout.activity_main); TextInputLayout emailTextInputLayout = findViewById(R.id.emailTextInputLayout); TextInputEditText emailEditText = findViewById(R.id.emailEditText); TextInputLayout passwordTextInputLayout = findViewById(R.id.passwordTextInputLayout); TextInputEditText passwordEditText = findViewById(R.id.passwordEditText); MaterialButton loginButton = findViewById(R.id.loginButton); TextView forgotPasswordTextView = findViewById(R.id.forgotPasswordTextView); loginButton.setOnClickListener(v -> { String email = emailEditText.getText().toString(); String password = passwordEditText.getText().toString(); if (email.isEmpty() || password.isEmpty()) { Toast.makeText(MainActivity.this, "Please enter both email and password", Toast.LENGTH_SHORT).show(); } else { // Perform login action Toast.makeText(MainActivity.this, "Login successful", Toast.LENGTH_SHORT).show(); } }); forgotPasswordTextView.setOnClickListener(v -> { // Handle forgot password action Toast.makeText(MainActivity.this, "Forgot password clicked", Toast.LENGTH_SHORT).show(); }); } } |
Need Debugging? – Try RobotQA and Start Debugging on Real Devices. Download Plugin
Conclusion
Material Components for Android provide a powerful way to build modern and visually appealing UIs. By using components such asTextInputLayout, TextInputEditText, and MaterialButton, you can create a clean and responsive login screen that adheres to Material Design guidelines. Experiment with other components like BottomNavigationView, FloatingActionButton, and Snackbar to further enhance your application's UI.
By following this guide, you should have a solid foundation for using Material Components in your Android projects. Happy coding!